
使用 Workers 在其他图像上绘制水印、徽标、签名。叠加支持透明度、定位和合成模式。
您可以使用两种方法在 Worker 中绘制叠加:
cf.image在 fetch 子请求上 — 将draw数组添加到图像选项。所有图像必须可通过 URL 访问。通过 URL 接口 优化图像时使用此方法。- Images 绑定 — 从任何源(包括托管图像或 R2)叠加图像时链式调用
.draw()。
要在 Workers 中的 fetch() 子请求 上绘制叠加,您可以将 draw 数组添加到 cf.image 选项。
数组中的每个条目指定叠加及其选项,包括 width、height、fit、blur 和 rotate 等优化参数。叠加按出现的顺序绘制——最后一个条目是最顶层。
export default {
	async fetch(request) {
		const imageURL = "https://example.com/image.png";

		return fetch(imageURL, {
			cf: {
				image: {
					width: 800,
					height: 600,
					draw: [
						{
							url: "https://example.com/branding/logo.png",
							bottom: 5,
							right: 5,
							fit: "contain",
							width: 100,
							height: 50,
							opacity: 0.8,
						},
					],
				},
			},
		});
	},
};Images 绑定 使用可链式调用的 .draw() 方法在图像上绘制叠加。您可以链式调用多个 .draw() 以绘制多个叠加。
将叠加图像作为第一个参数传递,然后将绘制选项作为第二个参数传递。要对叠加图像应用优化参数,将带有 .transform() 的 .input() 链作为第一个参数传递。
export default {
	async fetch(request, env) {
		const img = await fetch("https://zzzdna.com/blue.png");
		const watermark = await fetch("https://zzzdna.com/purple.png");

		const response = (
			await env.IMAGES
				.input(img.body)
				.draw(
					env.IMAGES.input(watermark.body).transform({ width: 100 }),
					{ bottom: 10, right: 10, opacity: 0.5 }
				)
				.output({ format: "image/avif" })
		).response();

		return response;
	},
};输出图像的尺寸始终由基础图像决定。然后在基础图像的画布上绘制叠加。
以下特定于绘制的选项可用于定位和混合。
使用 cf.image 绘制时叠加图像的绝对 URL。支持任何支持的图像格式。对于水印或非矩形叠加,请使用 PNG 或 WebP 图像。
使用 Images 绑定绘制时,叠加作为图像字节或 .input() 链传递,而非 URL。请参阅使用 Images 绑定绘制。
使用 cf.image 绘制时设置叠加图像的最大尺寸。接受整数(像素)或 0 到 1 之间的小数,表示基础图像尺寸的分数。例如,height:0.25 将叠加高度设置为基础图像高度的 25%。
使用 fit 和 gravity 控制叠加图像的调整大小和裁剪方式。
使用 Images 绑定绘制时,可以使用 .transform() 方法设置叠加图像的尺寸。
确定是否平铺叠加图像。
接受以下值:
true— 平铺叠加以覆盖整个区域。这适用于水印。x— 仅水平平铺叠加。y— 仅垂直平铺叠加。
将叠加图像的位置设置为距指定边缘的偏移量(像素)。0 使叠加与边缘对齐。例如,{ bottom: 0, right: 10 } 将叠加放置在右下角,距右边缘向内 10 像素。
同时设置 left 和 right,或同时设置 top 和 bottom 将返回错误。
设置叠加图像的不透明度。接受 0.0(完全透明)到 1.0(完全不透明)之间的小数值。例如,opacity: 0.5 使叠加半透明。
使用 Porter-Duff 合成操作 ↗ 控制叠加与基础图像的混合方式。默认为 over。
合成模式仅影响叠加边界框内的区域。此区域外的基础图像始终保留。
接受以下值:
在基础图像上绘制叠加图像。这是默认的 composite 行为。
叠加覆盖重叠区域的基础图像。在不重叠的区域,两张图像都可见。
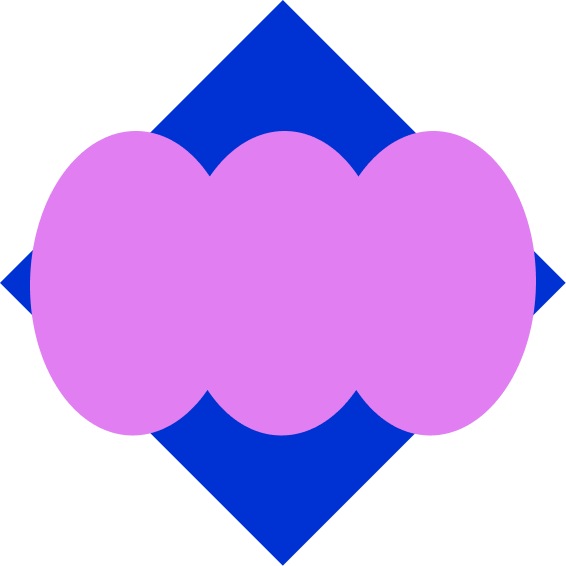
仅在基础图像不透明的地方显示叠加。如果叠加有与基础图像重叠的透明像素,则基础图像的那些区域也会变为透明。
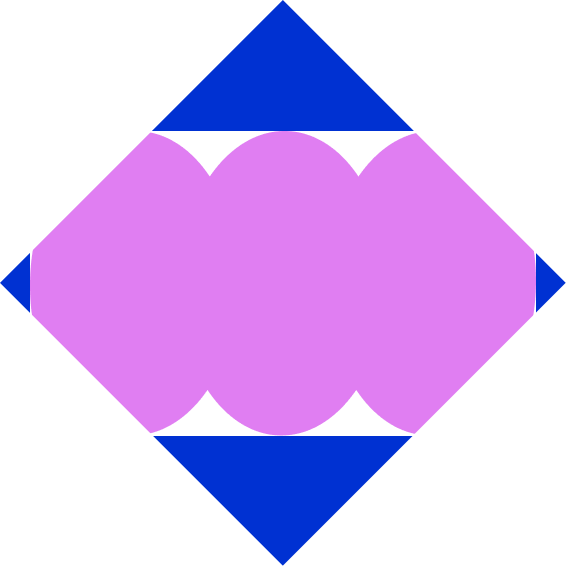
在基础图像上绘制叠加图像,但仅在基础图像不透明的地方。这将叠加图像裁剪为基础图像的形状。
如果叠加有与基础图像重叠的透明像素,则基础图像保持可见(与 in 不同)。
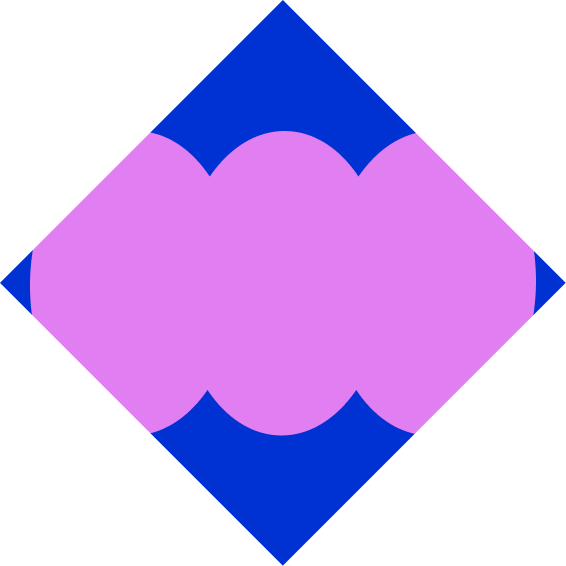
仅在基础图像透明的地方显示叠加。在叠加的边界框内,基础图像的不透明区域将变为透明。
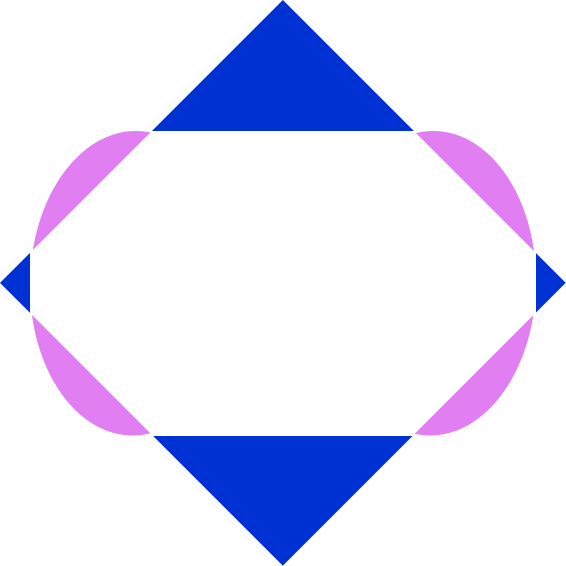
显示每张图像在另一张透明的地方。重叠的不透明区域将变为透明。这可用于创建圆角或自定义形状。
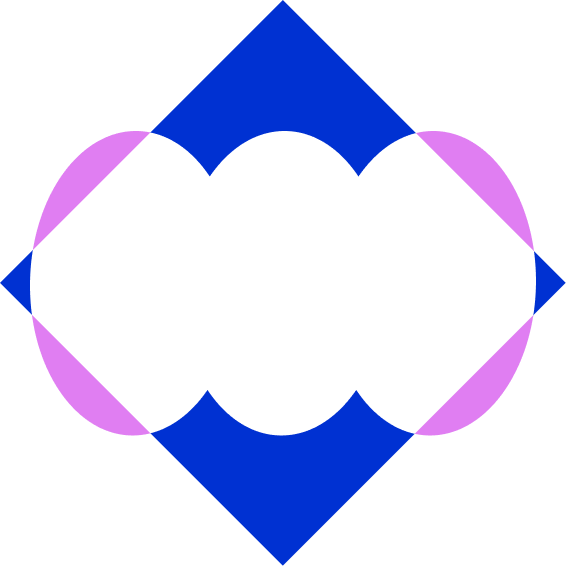
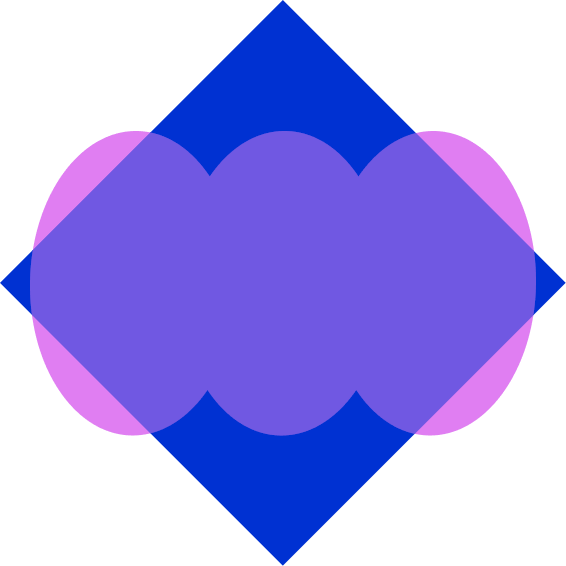
将两张图像的颜色值相加,使重叠区域更亮。
使用 cf.image 在整个图像上平铺半透明水印。
fetch(imageURL, {
	cf: {
		image: {
			draw: [
				{
					url: "https://example.com/watermark.png",
					repeat: true,
					opacity: 0.2,
				},
			],
		},
	},
});使用 cf.image 在右下角定位徽标。
fetch(imageURL, {
	cf: {
		image: {
			draw: [
				{
					url: "https://example.com/logo.png",
					bottom: 5,
					right: 5,
				},
			],
		},
	},
});使用 cf.image 在一个请求中组合多个叠加。它们按顺序绘制——最后一个条目是最顶层。
fetch(imageURL, {
	cf: {
		image: {
			draw: [
				{ url: "https://example.com/watermark.png", repeat: true, opacity: 0.2 },
				{ url: "https://example.com/play-button.png" },
				{ url: "https://example.com/logo.png", bottom: 5, right: 5 },
			],
		},
	},
});从图像中切出圆角。在每个角落绘制并旋转角蒙版以匹配位置。xor 移除重叠像素。
以下示例展示如何使用 Images 绑定 完成此操作。
const image = await fetch("https://example.com/photo.png");
const mask = await fetch("https://example.com/corner-mask.png");

let [topLeft, topRight] = mask.body.tee();
let bottomLeft, bottomRight;
[topLeft, bottomLeft] = topLeft.tee();
[topLeft, bottomRight] = topLeft.tee();

const output = await env.IMAGES
	.input(image.body)
	.draw(env.IMAGES.input(topLeft).transform({ rotate: 0 }), {
		left: 0,
		top: 0,
		composite: "xor",
	})
	.draw(env.IMAGES.input(topRight).transform({ rotate: 90 }), {
		right: 0,
		top: 0,
		composite: "xor",
	})
	.draw(env.IMAGES.input(bottomRight).transform({ rotate: 180 }), {
		bottom: 0,
		right: 0,
		composite: "xor",
	})
	.draw(env.IMAGES.input(bottomLeft).transform({ rotate: 270 }), {
		bottom: 0,
		left: 0,
		composite: "xor",
	})
	.output({ format: "image/png" });

return output.response();